How to Use Wacaco Minipresso GR: Step-by-Step Instructions
By Portable Coffee Hub Editorial Team
If you want to know how to use Minipresso GR correctly, start with one scoop of fresh super-fine ground coffee, hot water, and a slow, steady pumping rhythm. The original GR is a manual ground-coffee brewer: it does not heat water and it does not use capsules.
Below you’ll find the full brewing sequence plus practical fixes for weak coffee, hard pumping, poor flow, grind size, cleaning, preheating, and travel use.
As an Amazon Associate I earn from qualifying purchases.
How to Use Minipresso GR: Quick Answer
Remove the cup and outlet head, take out the filter basket, add one included scoop of ground coffee (about 7 g), transfer it into the basket, gently tamp, and make sure the basket is not filled to the rim. Reassemble the outlet head, fill the 70 ml water tank with hot water below the maximum level, attach it securely, unlock the piston, place the Minipresso over the cup, and start pumping. The first six strokes prime the coffee basket with water; keep pumping until coffee stops flowing.
WACACO lists an 8 g maximum ground-coffee capacity, 70 ml water tank, up to 50 ml output, and 8 bar maximum pressure for the original Minipresso GR.

Need a Minipresso GR?
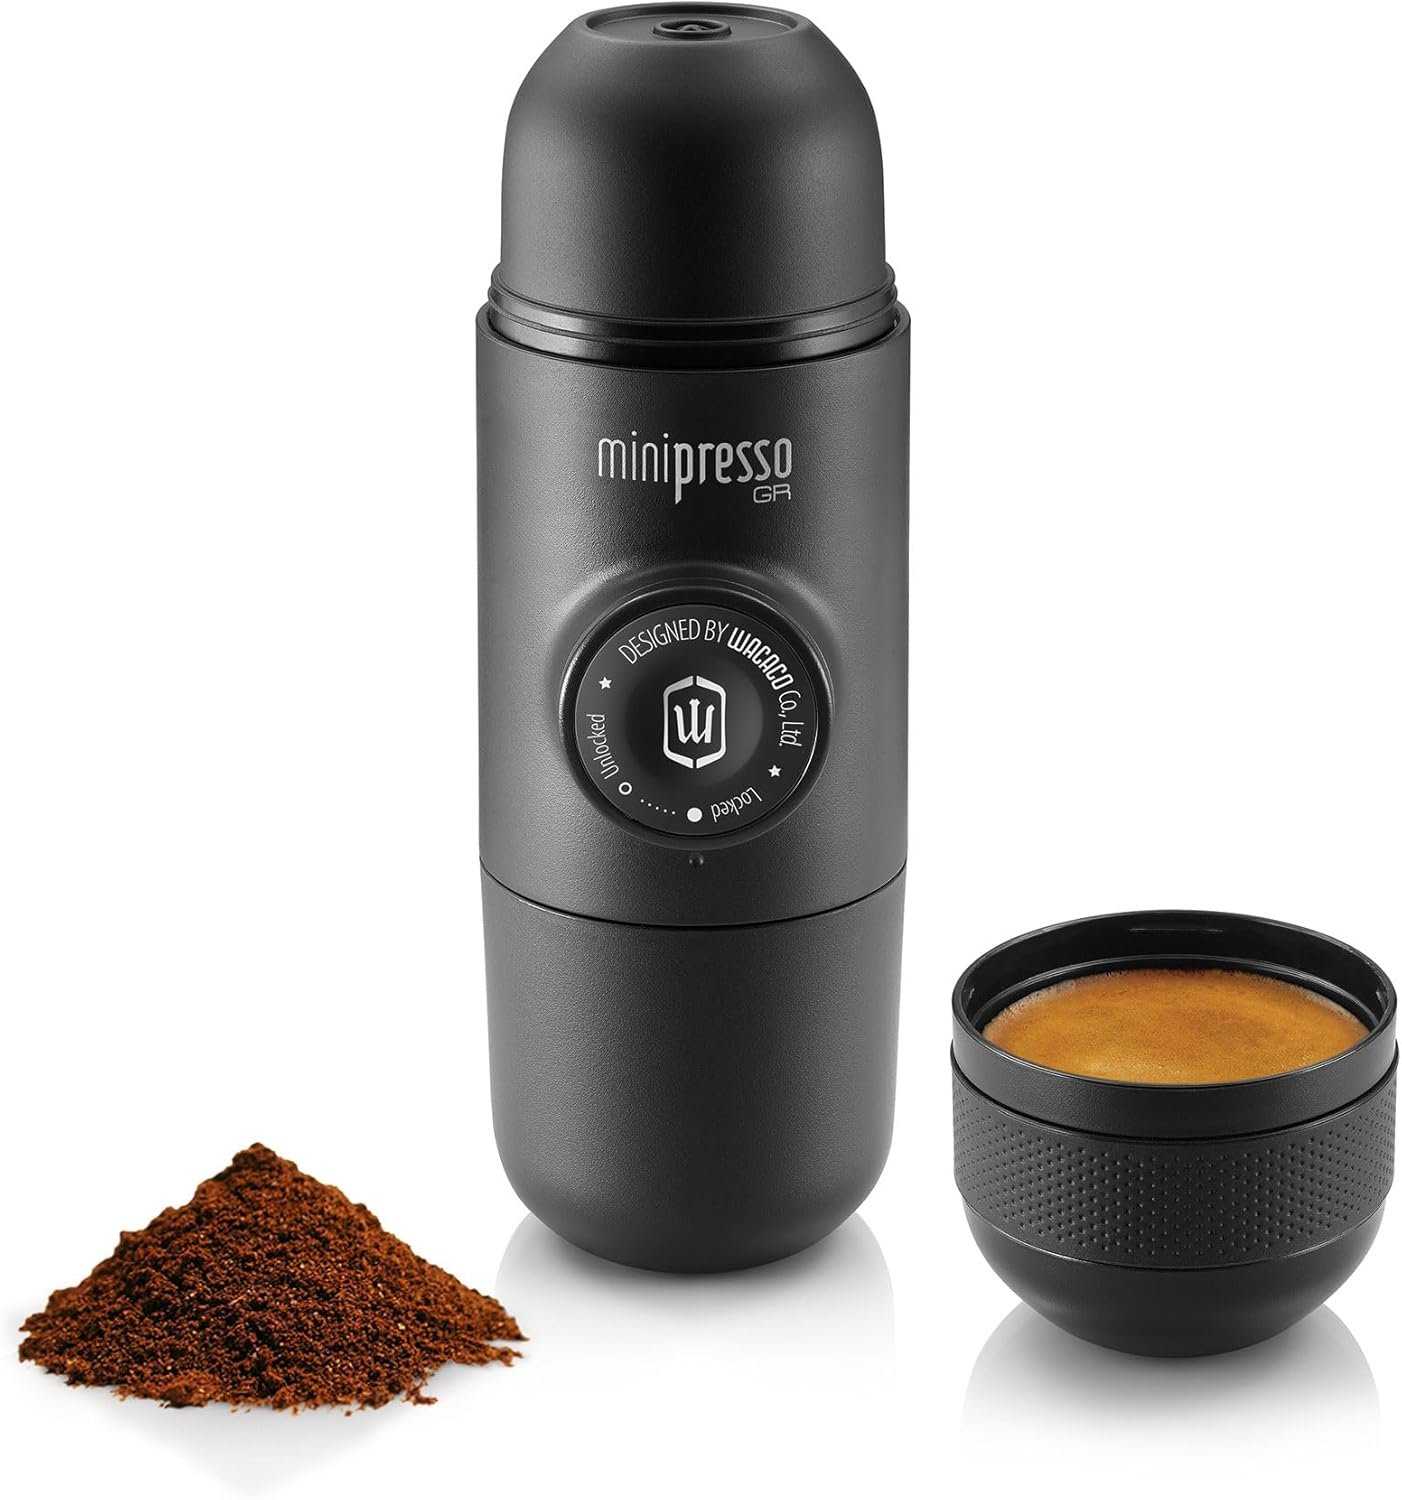
The original Minipresso GR uses ground coffee, a manual piston, and a pressurized filter system. It needs no battery or electricity, but you must supply hot water separately.
- Ground coffee only
- 70 ml water tank
- Up to 50 ml brewed output
- 8 bar maximum pressure
- 360 g / 12.7 oz
Amazon availability and pricing can change.
What You Need Before Using Minipresso GR
You do not need electricity, batteries, compressed cartridges, or capsules. You do need a separate way to heat water. At home that can be a kettle; while camping it can be a stove or another safe hot-water source.

Minipresso GR Instructions: Quick Steps
How to Use Wacaco Minipresso GR: Instructions with Pictures
Open the Minipresso GR
Unclip the built-in cup. Unscrew the outlet head and remove the filter basket. Unscrew the water tank and remove the scoop stored inside it.
Measure the Ground Coffee
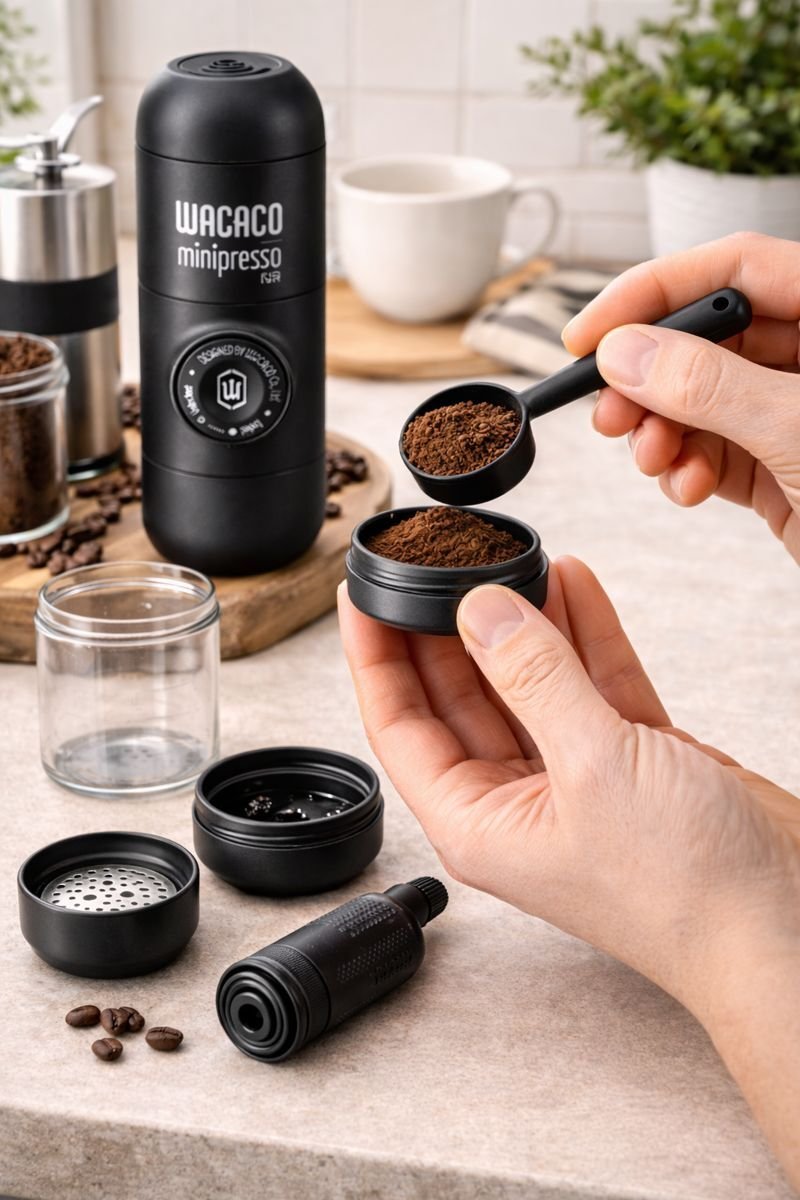
Fill the included scoop with freshly ground coffee. The official manual describes one scoop as approximately 7 g, while WACACO’s current product specifications list an 8 g maximum basket capacity. The practical rule is simple: use one scoop and do not overfill the basket.

Fill and Gently Tamp the Basket
Place the filter basket on top of the scoop and reverse them together so the coffee transfers into the basket. WACACO recommends gently tamping with the back of the scoop. Do not use heavy pressure and do not fill the basket to the rim after tamping.
Reassemble the Coffee Side
Set the filled basket on top of the main body. Brush or wipe any loose grounds from the edge so the seal stays clean. Screw the outlet head firmly into the main body until it stops.
Add Hot Water
Place the water tank on a level, stable surface and add hot water without exceeding the maximum level. The official manual illustrates boiling water being added, so handle the tank carefully and keep hands away from hot surfaces and steam.

Attach the Water Tank
Screw the main body onto the filled water tank until it reaches the stop. Hold the brewer carefully because the tank and surrounding parts can be hot.
Unlock the Piston and Start Pumping
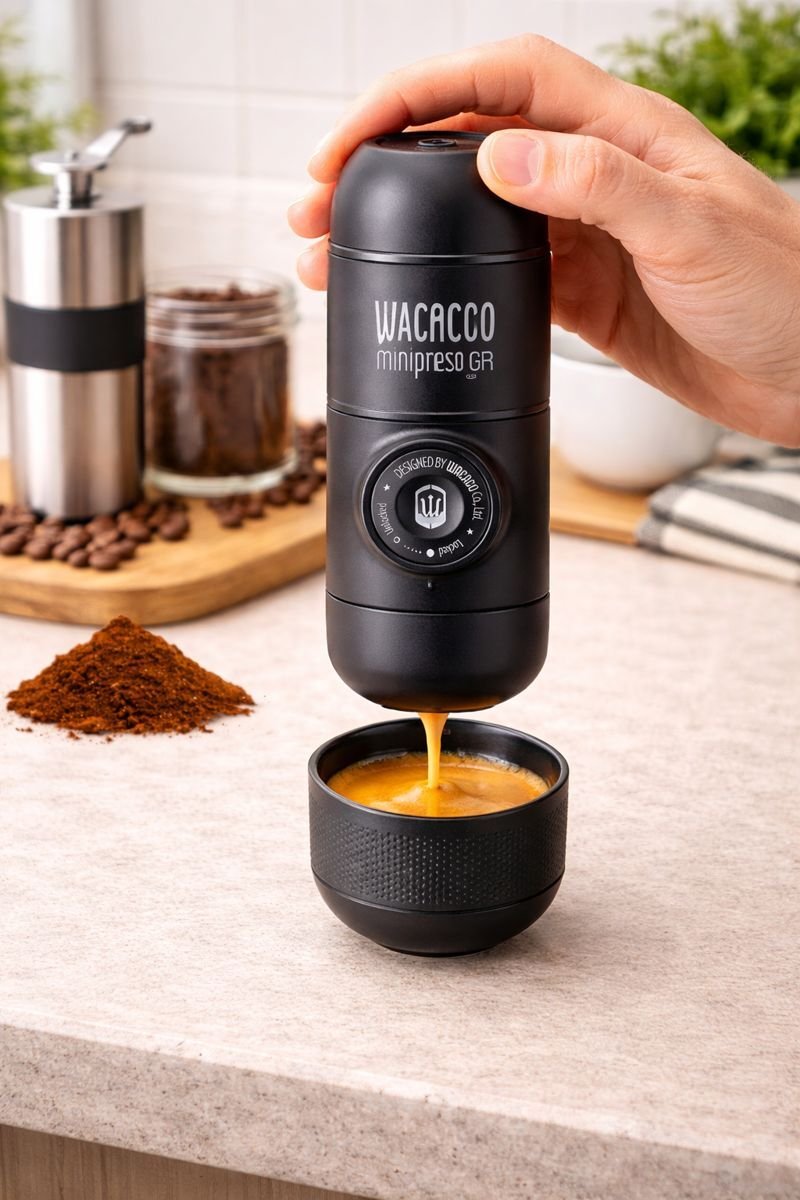
Rotate the piston to the left to release it from the travel position. Hold the Minipresso above its cup with two hands and begin pressing the piston steadily.

Prime, Extract, and Stop
The official Minipresso GR manual states that the first six strokes fill the filter basket with water. Continue pumping after that until no more coffee comes out. WACACO lists up to 50 ml of brewed output for the standard GR.
How Much Coffee Should You Put in Minipresso GR?
Use the included scoop as the easiest reference. The English instruction manual calls for one scoop, approximately 7 g. The current Minipresso GR specifications list the basket’s maximum ground-coffee capacity as 8 g.
Those numbers are not really contradictory: one is a practical dose instruction and the other is the basket’s published capacity. Start with one level scoop, transfer it into the basket, gently tamp, and make sure the coffee does not reach the rim.
Best Grind Size for Minipresso GR
WACACO currently recommends a super-fine grind for the original Minipresso GR. That does not mean you should automatically use the finest possible grinder setting. The correct grind still needs to allow water to move through the small basket under manual pressure.
| What Happens | Likely Grind Issue | What to Try |
|---|---|---|
| Water moves through very quickly; coffee tastes thin | Too coarse | Move slightly finer and use fresh coffee. |
| Piston is extremely difficult to press; little or no flow | Too fine or coffee is over-packed | Move slightly coarser, reduce dose, and tamp more gently. |
| Good resistance and steady extraction | Close to correct | Keep the setting and adjust taste with dose/freshness before making large grind changes. |
If you use a hand grinder on trips, write down the setting that works for your beans. That makes the Minipresso much more repeatable from one campsite, hotel, or office brew to the next. For more detail, see our coffee grinding guide for portable makers.
Water Temperature and Preheating
The original Minipresso GR does not heat water. WACACO’s manual instructs the user to add hot/boiling water to the tank and warns to handle it carefully. The tank holds up to 70 ml.
Temperature falls as water moves through a small portable brewer, especially outdoors. That is why preheating can make a noticeable difference. Before adding coffee, run a water-only cycle through the brewer, empty it, then prepare your normal shot.
How Hard and How Fast Should You Pump?
Use a steady rhythm rather than trying to force the piston as quickly as possible. WACACO describes the Minipresso as a semi-automatic piston system and recommends holding it with two hands during use.
The first several strokes do not immediately produce coffee because they are moving water into the coffee chamber. The official manual specifies six priming strokes. After pressure builds, coffee begins to flow and you continue pumping until the extraction finishes.
If the piston suddenly requires much more force than normal, do not force it harder. WACACO warns that applying unusually high force to a stuck piston can damage the brewer. Stop and check grind size, dose, tamp, basket rim cleanliness, and assembly.
Minipresso GR Troubleshooting
Coffee tastes weak
Use fresher beans, confirm the dose, move slightly finer, preheat the brewer, and avoid stopping the pumping sequence too early.
Piston is too hard to press
Do not force it. The coffee may be too fine, over-dosed, or tamped too firmly. Reduce resistance and make sure the basket rim is clean.
No coffee comes out
Check that the piston is unlocked, the water tank contains hot water, the basket is not blocked, and the grind/dose are not creating excessive resistance.
Very fast, watery flow
The grind may be too coarse or the coffee too stale. Move slightly finer and use a full, correctly prepared scoop.
Not much crema
The GR uses a pressurized portafilter to help produce crema, but coffee freshness matters. Fresh beans and the right resistance usually help more than pumping faster.
Coffee is not hot enough
Preheat the brewer with a hot-water cycle, brew immediately after filling, and keep the cup warm. Remember that the Minipresso itself has no heater.
How to Clean Minipresso GR After Brewing
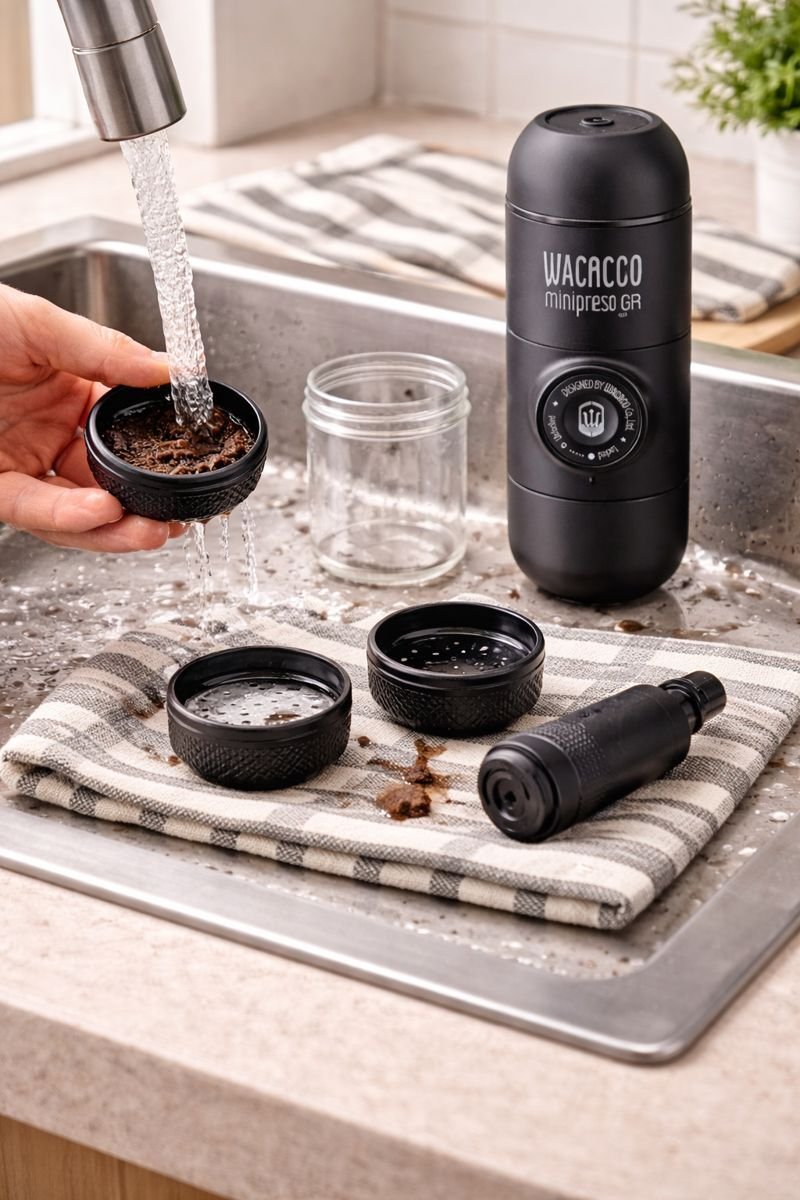
Let the brewer cool before disassembly. Remove the used coffee, then clean the cup and coffee-adapter areas under running water as directed by WACACO. For the other areas, use a damp soft cloth rather than immersing the whole brewer.

Before packing the brewer away, let the parts dry. Trapped moisture and old coffee residue are avoidable causes of odor and poor-tasting travel coffee.
Travel and Camping Tips for Minipresso GR
- Plan your hot-water source first. The GR cannot heat water.
- Pre-dose beans or coffee. One scoop per shot makes packing easier.
- Keep the basket dry before filling. Wet grounds around the rim can make assembly messy.
- Preheat in cold weather. A water-only cycle reduces heat loss from cold parts.
- Carry a small cloth. It helps clean the basket rim and dry the brewer before packing.
- Do not pack it wet. Let components air-dry whenever possible.
Minipresso GR vs NS: Which Instructions Apply to Your Model?
The Minipresso GR is the ground-coffee model covered by this page. The Minipresso NS is designed around compatible capsules, so the coffee-loading steps are different even though both use a manual pumping system.
You have Minipresso GR if…
You fill a small filter basket with ground coffee and use the included scoop.
You have Minipresso NS if…
You insert compatible capsules instead of measuring and tamping loose ground coffee.
For the capsule model, use our separate Minipresso NS step-by-step guide. If you are choosing between them, read Minipresso NS vs GR. Keeping those intents separate also makes it easier to find the correct instructions for the exact brewer you own.
More Minipresso and Portable Espresso Guides
Minipresso GR FAQ
How much coffee do I use in Minipresso GR?
Use one included scoop, which the official instruction manual describes as approximately 7 g. WACACO’s current product specifications list the basket’s maximum ground capacity as 8 g. Do not fill the basket to the rim after tamping.
What grind size does Minipresso GR need?
WACACO currently recommends a super-fine grind. If pumping becomes abnormally difficult or flow stops, try a slightly coarser setting and make sure the basket is not overfilled or heavily tamped.
Does Minipresso GR heat water?
No. You must heat water separately and pour it into the 70 ml water tank before brewing.
How many times should I pump Minipresso GR?
The official manual does not give one fixed total stroke count because extraction continues until coffee stops coming out. It does state that the first six strokes fill the filter basket with water before extraction continues.
How much coffee does Minipresso GR make?
WACACO lists up to 50 ml of espresso output for the standard Minipresso GR, with a 70 ml water tank.
Should I tamp coffee in Minipresso GR?
Yes, but gently. WACACO recommends using the back of the included scoop to tamp the grounds. Do not use excessive force and do not leave tamped coffee filled to the basket rim.
Can Minipresso GR go in the dishwasher?
No. WACACO specifically states that Minipresso parts should not be placed in a dishwasher.
Final Tips for Better Minipresso GR Coffee
For repeatable results, keep the workflow simple: use fresh coffee, one scoop, WACACO’s recommended super-fine grind range, a gentle tamp, properly heated water, a preheated brewer when conditions are cold, and a steady two-handed pumping rhythm.
If the piston becomes unusually difficult to move, stop instead of forcing it. The Minipresso GR is most reliable when the dose, grind, and basket fill create resistance without blocking water flow.
Check Minipresso GR on Amazon